MYTHS
AND FAQ’S ABOUT QUILTING:
A PAINLESS INTRODUCTION TO THE ART
copyright (c) 1997, 1998, 2005, 2012 by Margaret Middleton
It
isn’t.
It
IS, however, time-consuming.
This makes it a great thing to have on-hand while someone
else is driving the car on holiday visits,
or when you get stuck watching a
TV-show everyone else is interested in.
You don’t.
Fancy quilting toys are fun to acquire, but you DON’T need them to get
started.
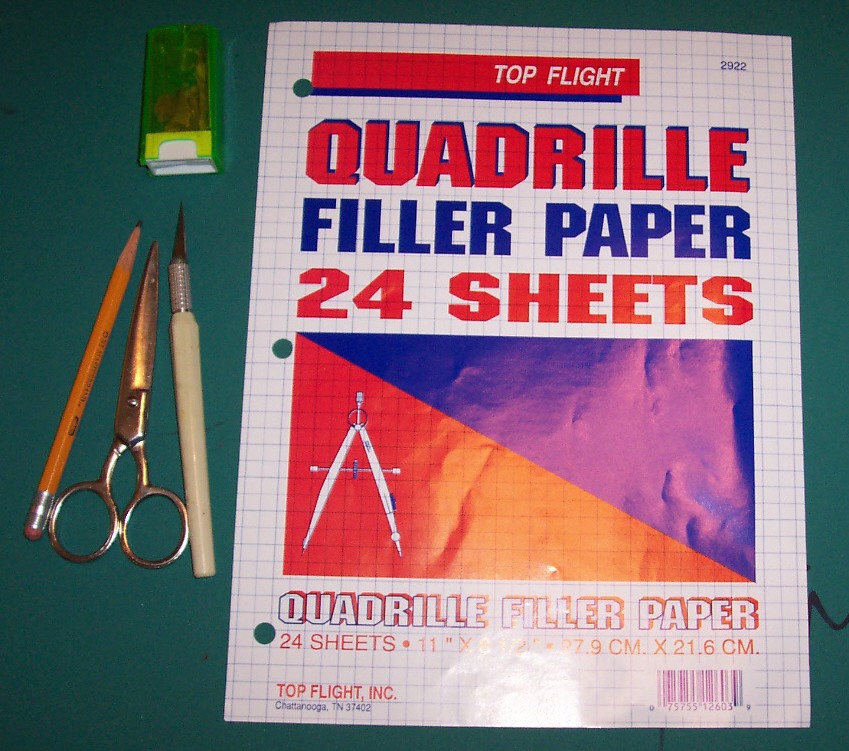
Most of the basics can be got in the school supplies section of the
supermarket:
A #2 pencil or two, and a sharpener
Graph paper (“quadrille” ruled, which means the squares are
¼”size)
A sharp craft knife
Some scissors to reserve for cutting paper and cardboard,

and a ruler (plastic,
12" long)
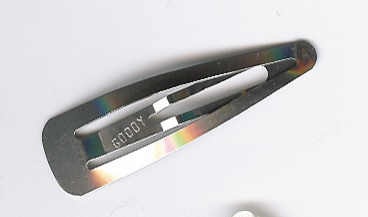
What you WILL need to get from the “sewing supplies” section are some “quilters clips”. Back when I was a teenager, these were called "Clippies" and were sold in the hair-care department. The ones in hair-care have sprouted flowers and fancy colors, though, and now cost a LOT more than the plain chrome versions in the sewing-supplies department. I still call them "clippies", though.
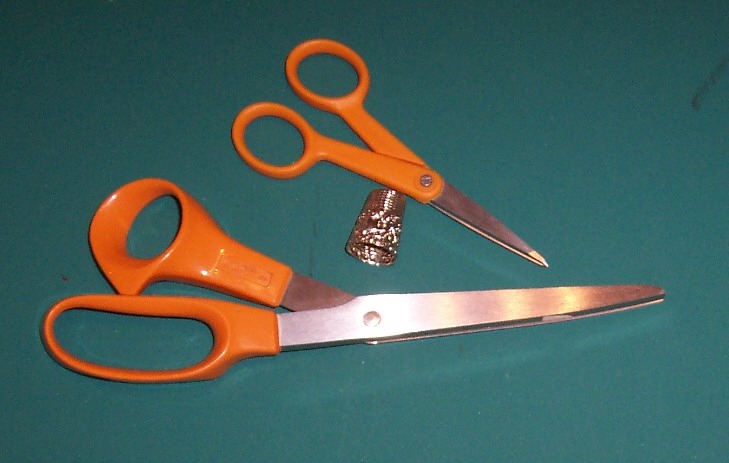
You will also need a thimble that you are comfortable with
(trust me: if you don’t already use a thimble for sewing, you’ll need one for quilting),
quilting thread, and two sets of good sharp scissors: a large one to cut fabric and a small one to cut threads.
You will also need a sewing machine and /or
needles and ordinary sewing thread.
I presume you already sew: whatever you have
on hand will do to start with.
You don’t.
You can make a quilt out of ANY fabric.
Some fabric is more durable than others, and some fabrics are more suitable
for certain applications, but ANY fabric can be quilted.
I like to save my
husband’s old shirts (cutting away the underarms which have eroded).
You can
get an astonishing number of quilt patches out of the back of a shirt.
It also helps greatly to be a packrat. If
you sew, save your scraps.
If you don’t already sew a lot, go shopping
(you’re going to need to buy some batting anyway).
They don’t
have to.
I recommend you start with a potholder.
It is something that can be done either by hand or by machine, and it
is
small enough to provide nearly instant gratification. It is also
useful, as well
as decorative.
Usually I am not a stickler for 100% cotton
fabric – there are entirely too many pretty things out there in
cotton-polyester blends. This, however, is one of those times when 100%
cotton
really is best. Synthetic fabrics let off some strange smells when
heated to
oven temperatures, and cotton is both more durable and a better
insulator.
You will need two pieces of fabric (they don’t have to match) each
large enough to
cut an 8” square from.
You will also need some Quilt Edging, and a quarter of
a yard of cotton batting. The fabric store will have a roll of this,
that you
can buy a quarter of a yard of just like any other fabric.
Start with the graph paper.
Measure and mark
an 8” square, using the grid lines to keep it square.
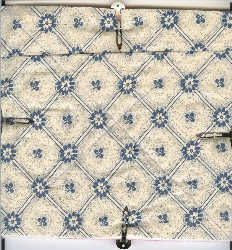
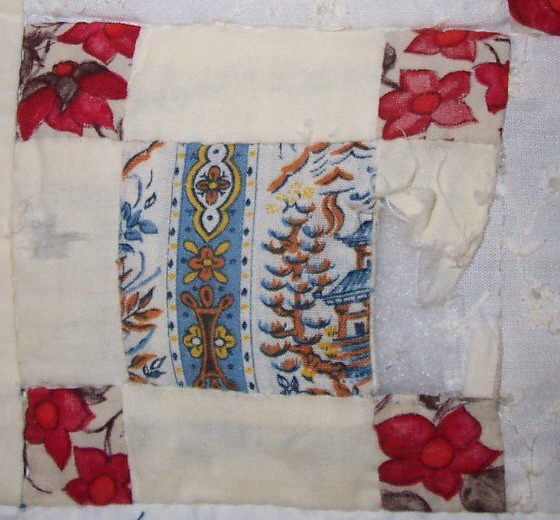
Cut one square from each fabric, and two squares from the quilt batting. You can play around with the fabric, if it has a print design on it, and probably get a complete one of whatever is the major design image (the technical term is motif) centered on the square you cut.
Stack all the squares together, with the batting in the middle and the “right” sides of the fabrics outward. Use the clippies to secure the stack in the middles of the four sides.
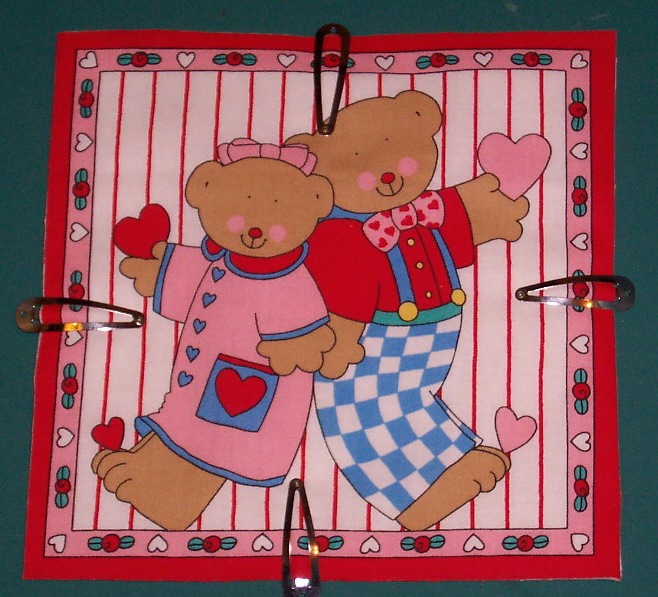
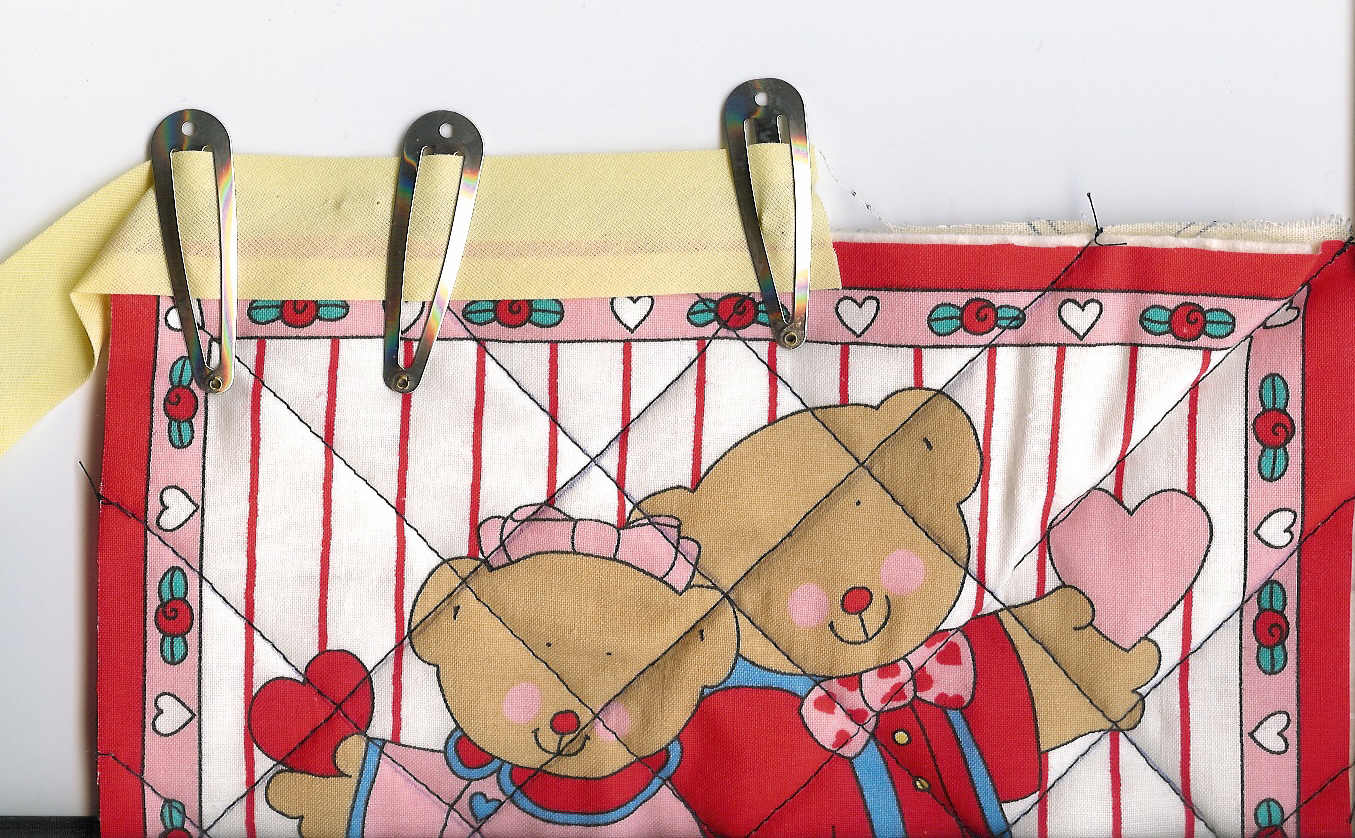
Use the ruler and draw diagonal lines from corner to corner of the top fabric, going both ways.
Stitch along both of these lines. Using the width of the ruler as a guide, draw two more lines parallel to these stitched lines, and on both sides.

Stitch along these lines. Trim any dangling thread ends. Baste around the outside edge of the potholder, about ¼” in from the edges of the stack.
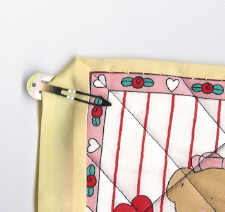
The hardest part of attaching the quilt edging is getting it to hold still while you sew it. As thick as a quilted project is, pins don’t tend to hold the edging exactly where you want it. This is where the clippies come in again.
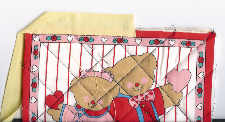
Start in the middle of one side and clip the edging in place all along the rest of that edge.
Blindstitch what you have just clipped, and
work right out to about 1/8” from the edge.
Stitch both sides of the potholder
Fold the edging around the corner in a miter, and clip the next edge.
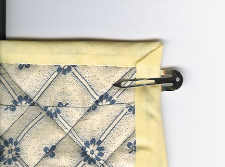
Stitch this side the same way as the first. Continue around the potholder in this fashion. When you get back to where you began, cut off the edging with about a 1” overlapping tail.
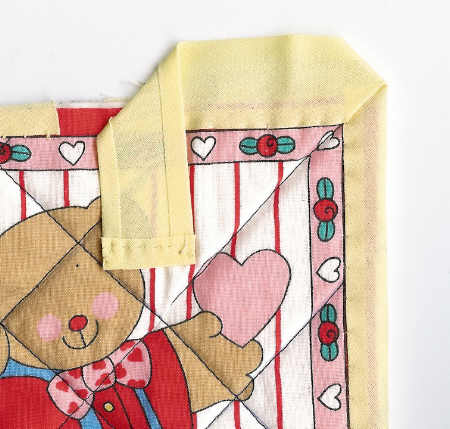
Fold the loose end back about ¼” and baste. Clip into place and stitch it down.
My potholders live in a basket on the
counter top.
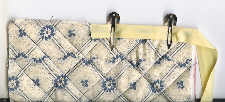
Many folks, though, like to hang them up. You can stitch a plastic
ring to one corner to allow for this.
Yes.
This covers the basics of quilting. Everything else is either patchwork, appliqué, or embroidery.
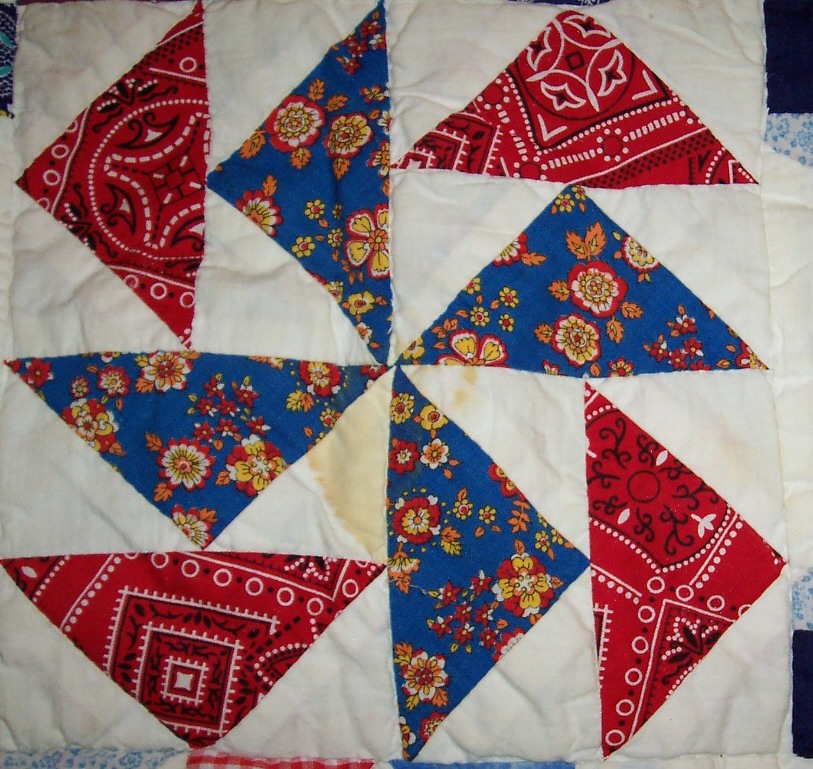
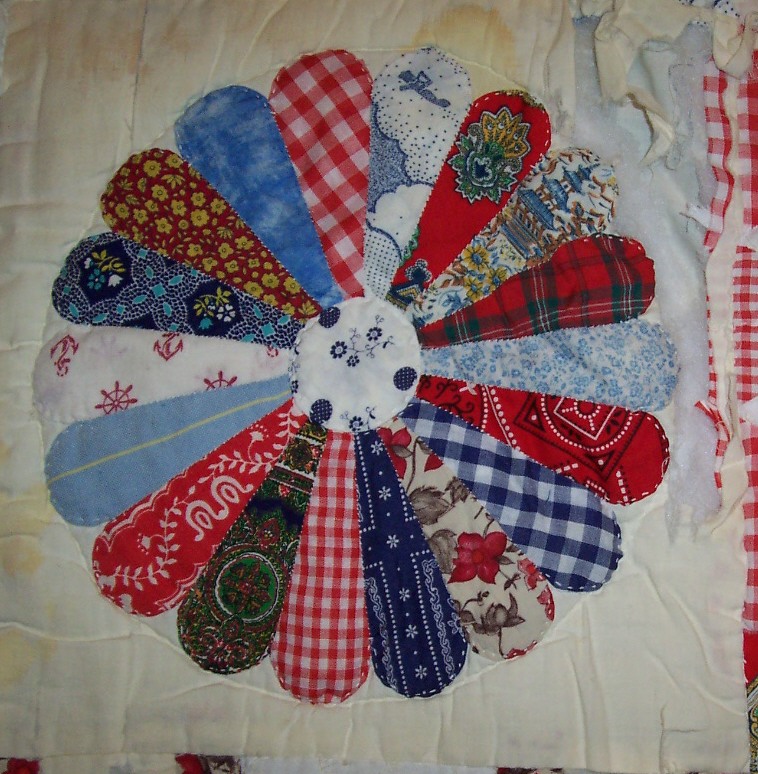
Patchwork is the process of sewing cut shapes of fabric together, exactly like assembling the pieces of a garment you sew. Only, the pieces are smaller, and there are probably a lot more of them per project, BUT you don’t need to have any curved seams.
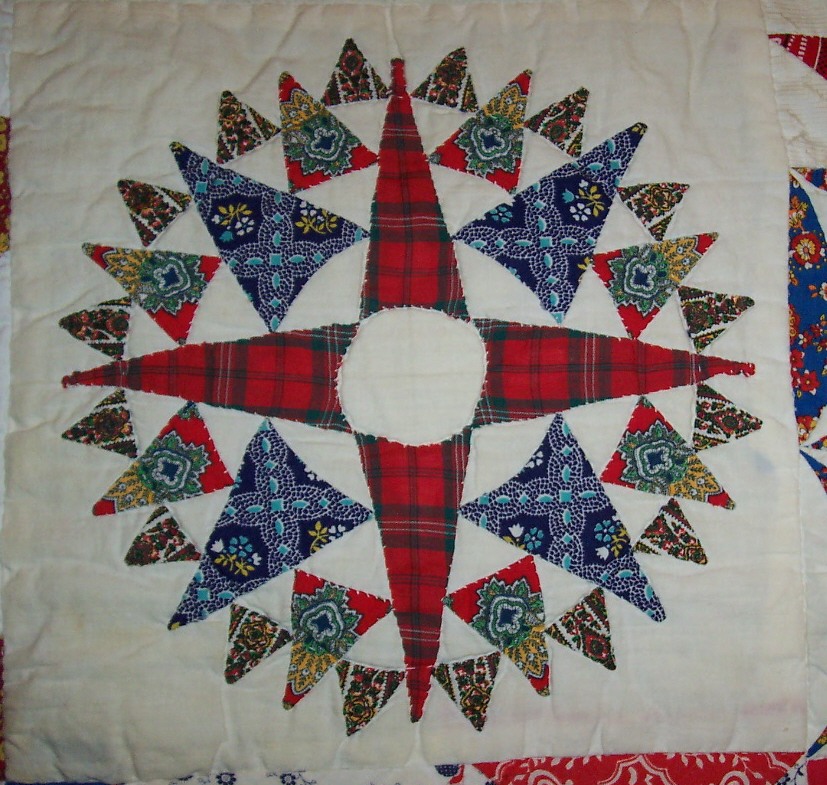
Applique’ is the process of stitching cut out shapes of fabric onto another piece of fabric.
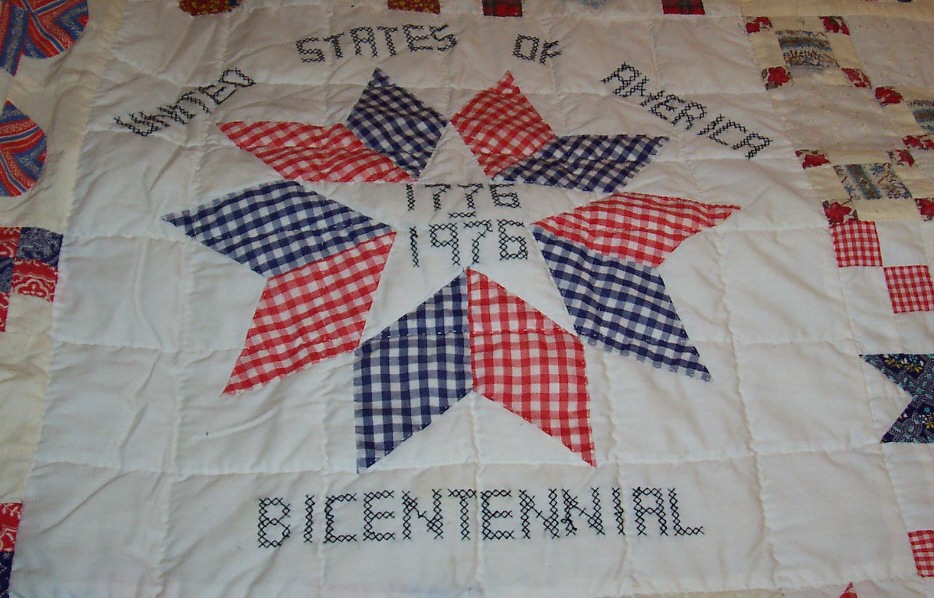
Embroidery is the process of stitching the design onto the fabric, usually with colored threads, but you can also get ‘liquid embroidery’ fabric paint.
For projects larger than potholders, the blocks are typically sewn together to make the quilt top. After that, the assembly process goes exactly like that potholder, only larger.
I personally suspect that the first quilt was invented about a week after somebody living in a cave realized that the animal skins the family slept under were more efficient at keeping them warm if they were stacked fur-side-together. I say a week, because that is about how long it would take me to get exasperated at having to re-stack them every night, and come up with a handful of leather thongs to tie the furs together at strategic points.
Technically, this is a “tied comforter”, not a quilt, but the underlying principle is the same: loose fiber sandwiched and secured between solid panels.
The Romans were using quilted padding under those shaped and sculptured bronze body armor sets (would you want metal touching your skin on a hot day around the Mediterranean? Or a cold day in Germany, for that matter?). This application continued all through the time when metal body armor was standard army equipment, with the lower ranks often only having a thick quilted shirt by way of protection. The fiber was usually wool, and the solid panels might be wool or linen. Sometimes scales of metal or thick leather were stitched directly to the shirt.
Quilting as we would recognize it emerged in the 1600’s, when printed cotton fabric began to be imported from India. It was expensive, so pattern motifs would be cut from the printed cotton and applique’d onto sheets of plain fabric, probably locally produced linen, in a system called “broderie perse”. Examples also survive from this time of “whole cloth” quilting, where the decoration consists entirely of the designs done in stitchery, like our potholder. The only piecing involved in one of these quilt tops would be connecting enough strips of the same fabric together to make a large enough top.
Patchwork quilting is mostly a New World development, growing from the need to use every piece of sound fabric in a frontier situation where new fabric was not always easy to come by.
YOU SAID BACK UP THERE THAT ANY FABRIC CAN BE QUILTED.
WHICH ONES ARE REALLY BEST?
What you want to do with the project once it is finished will drive your fabric choices.
Something to hang on the wall can be done in ornate and fragile materials. Something the kids and pets will be using should be sturdy and washable.
You should try to keep similar fabrics together, for simpler handling and cleaning. Silks, velours, and fancy wools make impressive pieces for a Victorian-style embellished crazy quilt, but you have to dry clean it. Cotton washes, but it shrinks (especially the first time), and it wrinkles. So does linen. Washable synthetics are excellent, especially blended with cotton as many shirting fabrics are. I mentioned old shirts earlier. Knit synthetics tend to be Very Heavy And Thick, but they come in spectacular colors.
The weight of the fabrics should be consistent throughout a project. It makes for easier stitching, and is sturdier.
Be cautious with old sheets.
They have some extraordinary colors and prints, but if you use them for too long before transferring them to the fabric stash, they will be too fragile and will begin to shred long before other fabrics in the quilt.
This has happened to me!
 |
 |
Also, percale sheets are more tightly-woven than muslin ones, which can make them hard to stitch through by hand.
It is a whole different world there nowadays than it was 45 years ago when I started to make my first quilt.
Back then, batting was cotton, and had to be quilted closely to keep it evenly distributed. Polyester batts with fused outer surfaces allow much more puffiness to be left in the quilting design. You can still get cotton batting, of course, and for many applications (such as the potholder) it is the preferred material.
Batts come in various thicknesses (the word on the label is “loft”). The lower the loft, the thinner, and the easier it will be to quilt. Higher loft battings make for puffier and warmer covers. Bagged batts are generally not so thick as by-the-yard batts, in my observation. By-the-yard batts typically come in 45” or 90” widths; bagged ones are precut to standard sizes, and the dimensions will be given on the bag.
Why and when do I
need to use quilting thread rather than regular
thread?
(asked by LJ User "Wynnsfolly")
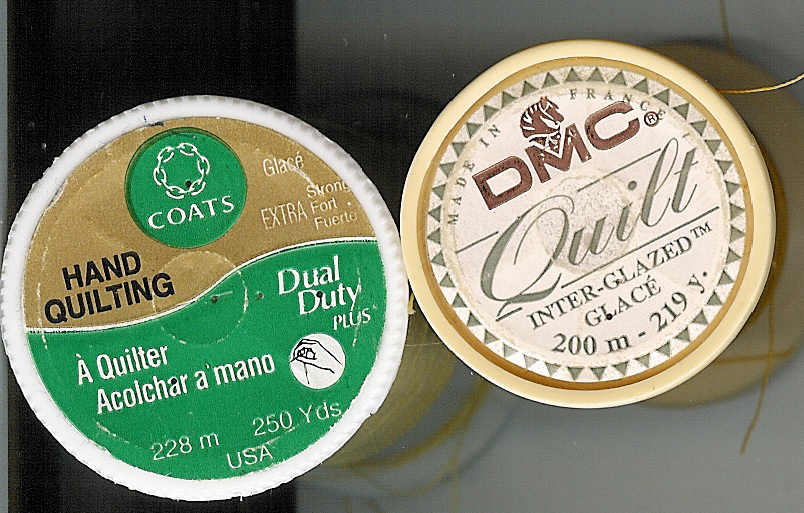
Quilting thread
is different from ordinary sewing thread in that it is lightly glazed
so it is stiffer and less prone to tangling.
It feels like it is just slightly thicker, too, but that may be the
glazing rather than actual fiber.
This all makes it easier to handle when hand-stitching than ordinary
thread.
I've quilted with ordinary thread, back when I didn't know there WAS
such a thing as special quilting thread.
Also when I needed "just THAT color" and the palette of quilting
threads available didn't HAVE that color.
It is a good idea to run the regular thread doubled, and wax it
lightly, to get the additional tangle-resistance, if you are going to
do that.
So it isn't TOTALLY necessary to quilt with "quilting thread", but it
is considerably more convenient most of the time.